To measure a garment correctly, lay it flat on a table, close every fastening, smooth the seams without stretching, and measure seam to seam with a steel tape — chest, shoulder, length, sleeve, waist, hip, inseam — then compare each number with the spec sheet at ±1 cm on main points, ±0.5 cm on details.
Measurement disputes are among the most common arguments between buyers and factories: the bulk arrives 2 cm narrower at the chest, the factory says "within tolerance", the buyer says "rejected" — and usually nobody measured wrongly on purpose; the two sides simply used different methods. GorgeousBen, a menswear manufacturer in Shishi, Fujian sewing for buyers in 47 countries, treats the measuring method as part of the specification. This guide covers the flat-measurement method, the eight points that catch most problems, sensible tolerances, and the mistakes behind false rejections.
Why the Method Matters More Than the Tape
A size chart can be written in two systems: body measurements describe the wearer, with ease added by the pattern maker; flat measurements describe the garment on a table, which is what a factory can control. If your sheet says "chest 56 cm" without saying whether that is flat, half (112 cm around) or a body size, you have written an argument, not a spec.
Flat measurement is the production-control default because it is repeatable: two people measuring the same garment on a table land within a few millimetres, while the same garment measured hanging, stretched or straight from a polybag differs by 1–2 cm. Agree on how a number was taken — the same discipline that governs every field in a tech pack a factory can quote from.
Set Up the Table Before You Measure Anything
Four setup rules make a measurement trustworthy:
- Use a steel or fibreglass tape on a flat, hard table — cloth tapes stretch and add centimetres.
- Close everything as worn and smooth the seams without stretching; if you find yourself pulling fabric to reach a number, stop.
- Measure at the right stage — wovens after pressing and any wash; knits after relaxing out of the polybag — and record in centimetres immediately. Numbers kept in memory drift; the sheet is the record, as the guide to reading a factory QC report also assumes.
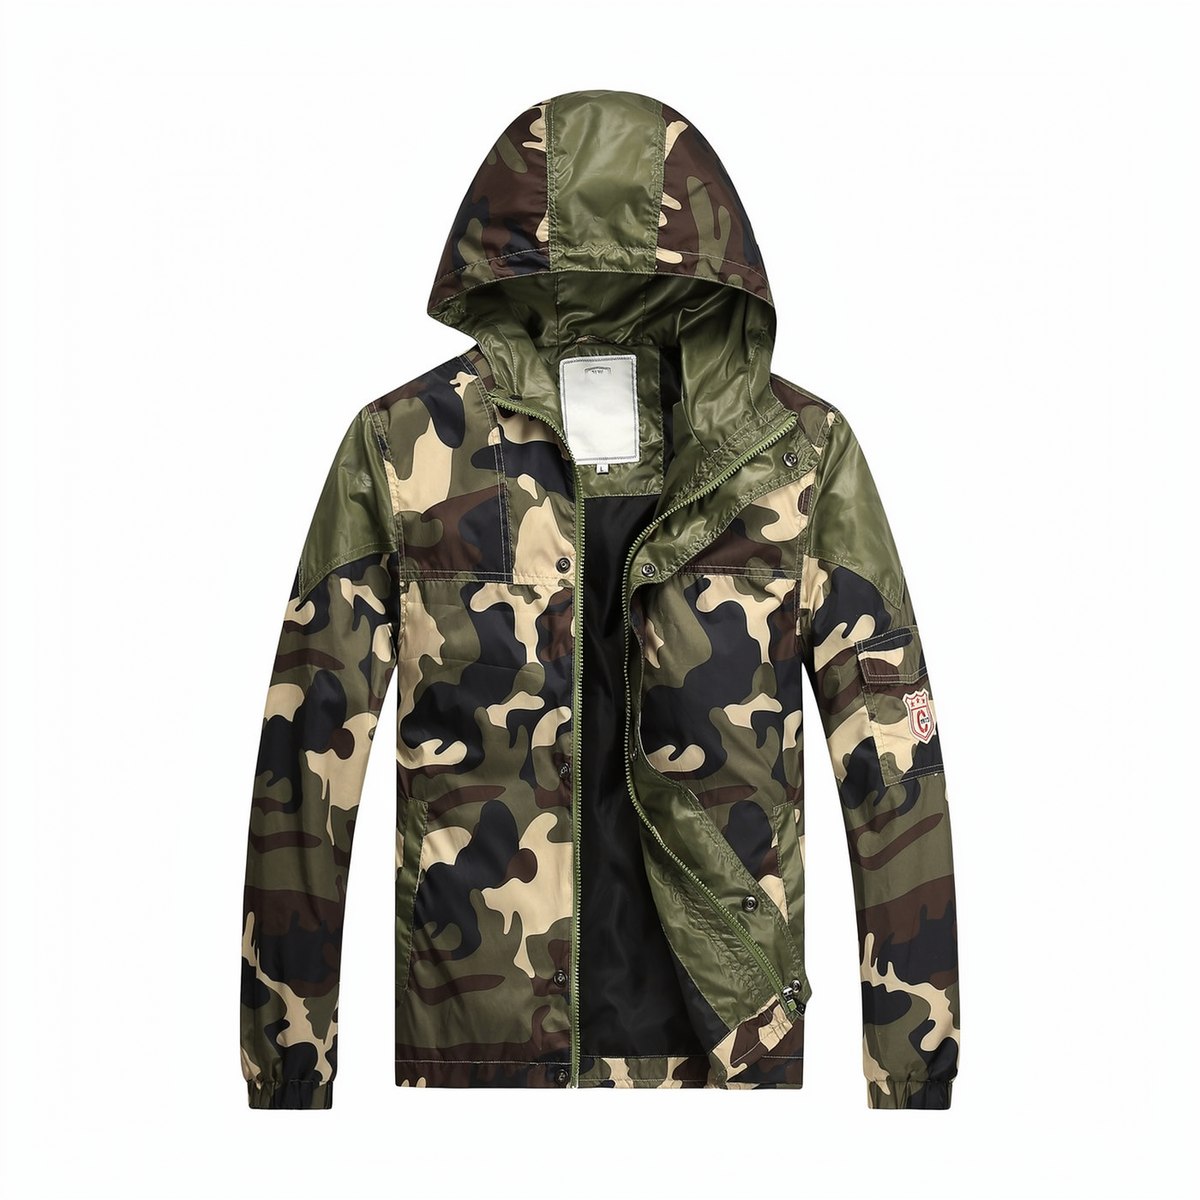
A garment laid flat, closed and smoothed — the starting point of every reliable measurement.
The Eight Points That Catch Most Problems
A spec sheet may carry twenty points, but eight catch most production problems. The table gives the flat method for each and what a wrong number means.
| Point |
How to measure it flat |
What a wrong number usually means |
| 1/2 chest |
1 cm below the armhole, straight across, seam to seam |
Narrow: seam allowance drift. Wide: fabric not relaxed |
| Shoulder |
Across the back, shoulder seam to shoulder seam |
Narrow shoulder: pattern or grading error, not sewing |
| Body length (HPS) |
High point of the shoulder straight down to the hem |
Short: deep hem turnback. Long: wrong marker panel |
| Sleeve length |
Shoulder seam to cuff edge, following the natural curve |
Drift comes from cuff or placket construction |
| 1/2 waist |
Across the waistband, fastened, straight edge to edge |
Elastic waists: measure relaxed, never stretched |
| 1/2 hip |
Widest point below the waistband, commonly 7–8 cm down |
Tight hips with correct waist: pocket bag pulling in |
| Inseam |
Inside leg, crotch seam to hem, leg laid flat |
Short pairs with a deep hem turnback, not cutting |
| Thigh and leg opening |
Thigh about 2.5 cm below the crotch seam; leg opening across the hem |
Tight thigh, correct hip: pocket bags pull the panel in |
On cargo pants, measure leg width over the closed side pockets — measuring beside the pocket gives a flattering number.
Jackets, Pants and Knits: Where the Method Changes
Jackets: measure buttoned, lapels and collars in finished position, pockets empty, sleeve heads smoothed but not reshaped. Back length runs from the centre-back collar seam to the hem — a different number from HPS length.
Pants: zip and button closed; front rise runs from the crotch seam to the top of the waistband, following the fly curve. For elastic waists write "relaxed" or "extended to X cm" by the figure.
Knits: relax them out of the polybag for two to four hours — common practice — then measure, ideally twice. A rib measured straight from the bag reads narrower than after relaxation, a gap that has started disputes.
Tolerance: Reading Numbers Instead of Arguing
No factory hits a target to the millimetre across hundreds of garments. The bands below are common practice for woven menswear; the sealed sample rules in the end, and the size grading guide explains how spec values are built.
| Group |
Common tolerance |
Notes |
| Main points (chest, length, sleeve, waist, hip, inseam) |
±1 cm (about 3/8 inch) |
The points a customer feels — keep them tight |
| Detail points (cuff, collar, pocket, leg opening) |
±0.5 cm |
Small panels, small allowances |
| Piece-to-piece, same size |
within 0.5 cm of each other |
Wider spread: a cutting or fusing problem |
Two warnings: tolerance is not a target — a line "aiming" at +1 cm puts half the order at the edge — and it never overrides the sealed sample. Bulk consistently off from the signed sample is a pattern question, not a tolerance question.
Five Measuring Mistakes That Cause False Rejections
- Angled tape. The tape sags or slopes instead of running straight; the reading comes back short and unrepeatably.
- Measuring over pockets, flaps and pleats. On cargo styles this shifts the hip reading a centimetre or more.
- Pulling to "make the number fit". Stretching toward the spec hides a defect the customer will still feel.
- Wrong stage. Measuring before pressing or wash, or a knit straight from the polybag, measures a condition the customer never sees.
- One piece per size. One garment cannot tell bad luck from a production shift; three pieces from different cartons is the minimum, consistent with an AQL inspection plan.
Finished seams and plackets — details a measurement sheet must name precisely.
The Measuring Sheet Your Factory Should Sign
A measurement sheet removes memory, tone and translation from the conversation:
- Style number and PO reference — so two same-named styles never share a sheet.
- Size, with the grading base stated.
- Point name plus a method note ("1/2 chest: 1 cm below armhole, seam to seam"), with spec and actual values and the calculated deviation.
- Stage and piece ID — which garment, which carton, after which operation.
- Measured by and date, signed on the printed copy.
Ask for it with the pre-production sample, the sealed sample and bulk inspection — the third one decides whether you release the balance payment, as described in the QC report guide. Remote buyers can still verify: request photos of the tape over the garment with the reading visible — a typed number is not evidence — and put an independent inspector on large orders.
How GorgeousBen Measures Its Bulk
GorgeousBen measures every bulk style against the sealed sample, after pressing and any garment wash, never before. Three pieces per size from different cartons are recorded with deviation and piece ID, any point outside tolerance is corrected before folding — not explained after packing — and each sheet is archived with the retention sample, so a question raised months later is answered with the original numbers.
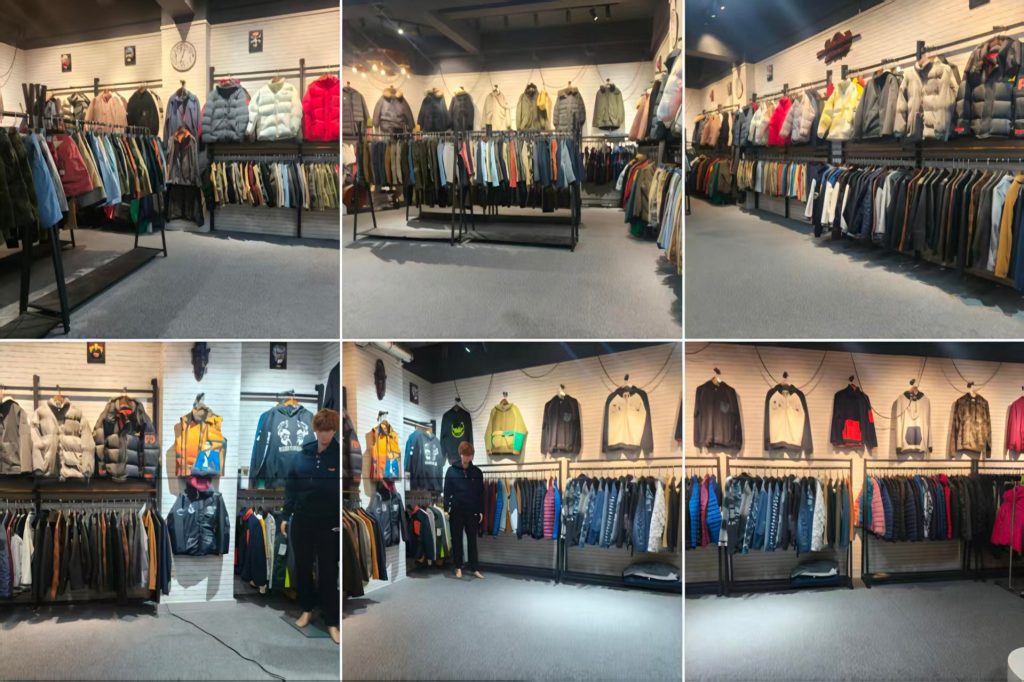
Sealed samples in the GorgeousBen showroom — the reference for every bulk measurement.
Frequently Asked Questions
How do you measure a garment correctly?
Lay it flat, close all fastenings, smooth the seams without stretching, and measure seam to seam with a steel tape: chest 1 cm below the armhole, length from the high point of the shoulder, inseam from crotch seam to hem. Compare each number with the spec sheet and tolerance.
What is the difference between flat measurements and body measurements?
Flat measurements describe the garment on a table — a 56 cm half chest equals 112 cm around. Body measurements describe the wearer, with pattern ease added. Mixing the two systems on one sheet is why correct garments arrive looking wrong on paper.
What tolerance is acceptable on garment measurements?
Common practice for woven menswear is ±1 cm on main points (chest, length, sleeve, waist, inseam) and ±0.5 cm on details such as cuffs and collars. Same-size pieces should sit within about 0.5 cm of each other. Write the bands into the tech pack and let the sealed sample decide disputes.
How many pieces should you measure from a bulk order?
Three pieces per size from different cartons is the practical minimum for a buyer-side check — enough to tell one-off from production shift. Formal inspection follows a statistical sampling plan, measuring the pieces the agreed AQL level requires.
Send Your Spec Sheet and Get Numbers Back
A measurement method you can trust starts with a sheet both sides sign. GorgeousBen manufactures menswear — cargo pants, chinos, jackets and more — in Shishi, Fujian, and returns measurement sheets with every sample and shipment. Browse the menswear range, or send your size chart through the contact page for a quote with the method written in.


